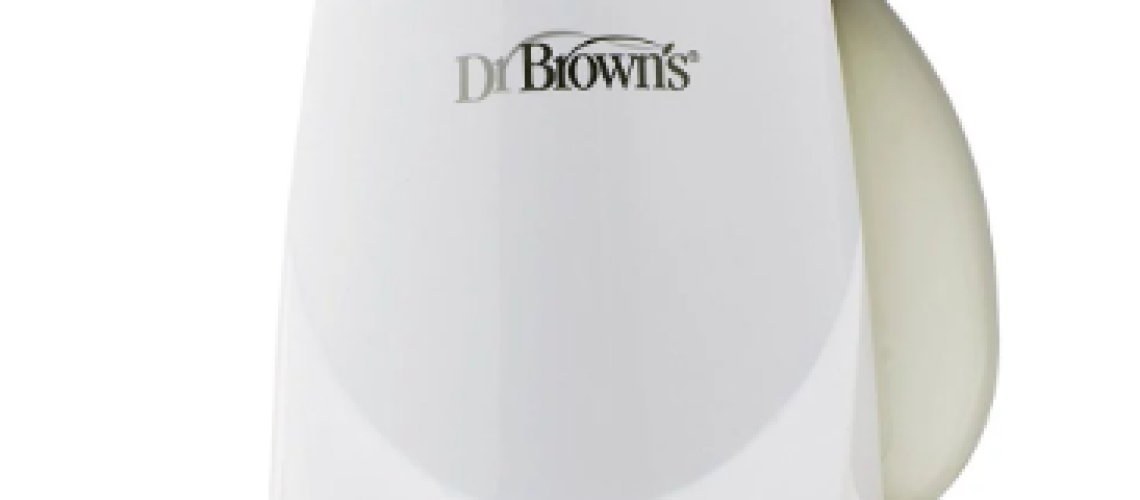
Dr. Brown’s Bottle Warmer is a popular choice among parents for its consistent and efficient heating capability.
However, regular use can lead to mineral build-up from water, which can affect its performance over time. Therefore, it’s crucial to clean it regularly to ensure its longevity and efficiency.
This article provides a comprehensive guide on how to clean your Dr. Brown’s Bottle Warmer.
The Importance of Cleaning Your Dr. Brown’s Bottle Warmer
Before we delve into the cleaning process, let’s discuss the importance of cleaning your bottle warmer. Cleaning your bottle warmer is essential for several reasons:
- Efficiency: Regular cleaning helps maintain the efficiency of the bottle warmer. Mineral deposits from water can accumulate over time, affecting the heat conduction of the device.
- Hygiene: Regular cleaning ensures the unit remains hygienic for baby use.
- Longevity: Regular maintenance can prolong the lifespan of the bottle warmer.
Frequency of Cleaning
General Cleaning: It’s recommended to clean your Dr. Brown’s Bottle Warmer at least once a week for general maintenance.
Descaling: Depending on the hardness of your water, you may need to descale your bottle warmer every 4-6 weeks. Check your device’s manual for specific recommendations based on your water hardness.
Materials Needed for Cleaning
Ensure you have the following materials before starting the cleaning process:
- Soft cloth or sponge
- Mild dish soap
- White vinegar
- Clean, fresh water
- Small brush (optional)
Step-by-Step Cleaning Process
Step 1: Unplug and Cool Down
Safety is paramount. Always unplug your Dr. Brown’s Bottle Warmer before cleaning and allow it to cool down if it has recently been in use.
Step 2: Remove Water Reservoir
Detach the water reservoir from the main unit. This component is dishwasher safe and can be cleaned in the top rack of your dishwasher. Alternatively, you can wash it by hand with warm soapy water. Rinse thoroughly and allow it to dry.
Step 3: Clean the Warmer Unit
With a soft cloth or sponge and mild dish soap, gently clean the main warmer unit. Pay particular attention to the warming chamber, ensuring all milk residues are cleaned. Remember to avoid getting the electrical components wet to prevent damage. Rinse thoroughly and dry.
Step 4: Descaling the Warming Chamber
Mineral deposits or limescale can accumulate in the warming chamber over time. To descale, fill the chamber with white vinegar, allowing it to sit for an hour or two. After soaking, use a soft cloth or small brush to gently scrub away any remaining deposits. Rinse thoroughly and dry.
Step 5: Reassemble and Test
Once all parts are clean and dry, reassemble the bottle warmer. Fill the reservoir with water and run a warming cycle without a bottle to ensure all soap and vinegar residues are completely rinsed away.
Maintenance Tips
Regular cleaning is the key to maintaining the efficiency of your Dr. Brown’s Bottle Warmer. However, here are a few extra tips to keep it in top condition:
- Use Distilled Water: If you live in a hard water area, consider using distilled water in your warmer to reduce the buildup of limescale.
- Regular Descaling: If limescale is a recurring issue, consider descaling more frequently.
- Avoid Overfilling: Overfilling the water reservoir can cause water to enter the warming chamber, leading to potential damage. Always fill to the recommended level.
Conclusion
Regular maintenance and cleaning of your Dr. Brown’s Bottle Warmer not only ensures the health and safety of your baby# I will search for more details to complete the article. search(“how to clean dr. brown’s bottle warmer”)
Additional Guidelines
Finally, let’s review some additional guidelines from the manufacturer to help you make the most of your Dr. Brown’s Bottle Warmer:
- Use Distilled Water: According to Dr. Brown’s, using distilled water in your bottle warmer can prevent the build-up of deposits around the heating element, which can shorten the product’s life. Any other type of water, including tap, bottled, or even filtered water, may contain deposits that can accumulate around the heating element1.
- Descale for Optimal Use: Descaling the bottle warmer is recommended for optimal use, especially if you have hard water, which may cause residual build-up on the heating element. Dr. Brown’s suggests a descaling mixture of 2 oz (50 ml) of white vinegar and 4 oz (100 ml) of cold water. Pour this mixture directly into the removable water reservoir, then run warming cycles until all the water is gone from the reservoir. After this, unplug the appliance and rinse the heating chamber and removable water reservoir with clean water2.
Cleaning your Dr. Brown’s Bottle Warmer may seem like a tedious task, but with regular practice, it becomes a simple routine. Moreover, the benefits of maintaining the hygiene and efficiency of your bottle warmer are worth the effort. Remember, a clean bottle warmer contributes to a happy and healthy feeding experience for your baby.


